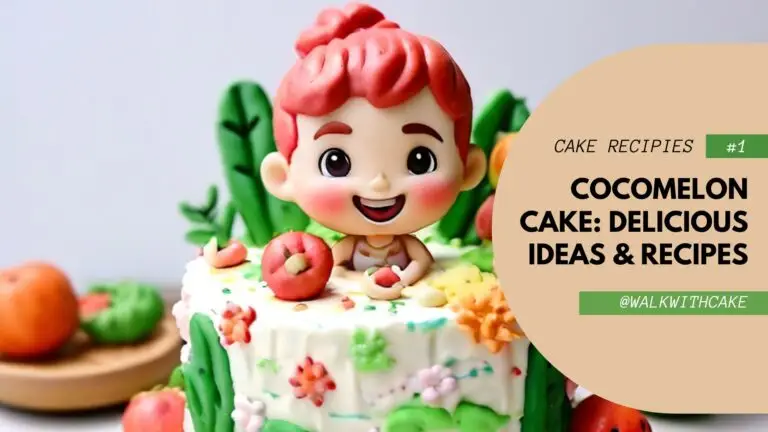
How to Make a Cocomelon Cake at Home: Easy Tutorial
Planning a Cocomelon-themed birthday party for your little one and want to make an adorable, show-stopping cake at home? You’ve come to the right place! In this tutorial, we’ll guide you through the step-by-step process of making a delightful Cocomelon cake that will look fantastic and taste amazing. Plus, this cake will impress your guests and bring a smile to your child’s face. Let’s get started!
Introduction
Cocomelon has become one of the most popular children’s shows, with its colorful animations and catchy nursery rhymes. A Cocomelon cake is perfect for celebrating birthdays, milestones, or any special occasion for toddlers and preschoolers. While professional bakers often make elaborate cakes, you can create a homemade Cocomelon cake that’s fun, affordable, and achievable for beginners.
In this guide, you will learn how to:
- Plan and prepare the ingredients for your Cocomelon cake
- Bake and frost the cake layers
- Decorate with simple, easy-to-follow techniques
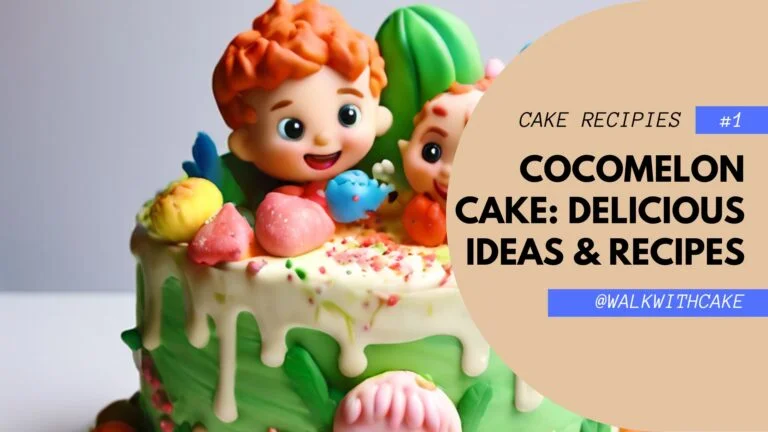
- Make the final product look just like JJ’s Cocomelon bus!
Let’s break it down so you can follow along easily.
Ingredients and Tools You’ll Need
Before you start, gather all the necessary ingredients and tools. Having everything on hand will make the process smooth and enjoyable.
Ingredients:
- Cake Batter:
- 2 ½ cups all-purpose flour
- 1 ¾ cups granulated sugar
- 1 cup unsalted butter, room temperature
- 4 large eggs
- 1 cup whole milk
- 2 teaspoons vanilla extract
- 1 tablespoon baking powder
- ½ teaspoon salt
- Food coloring (green and red for the watermelon effect)
- Buttercream Frosting:
- 1 cup unsalted butter, softened
- 4 cups powdered sugar
- 3-4 tablespoons heavy cream or milk
- 2 teaspoons vanilla extract
- Gel food coloring (green, red, black, yellow)
- Fondant Decorations:
- Pre-made white fondant (about 1 lb)
- Gel food coloring (for blue, yellow, and red)
Tools:
- 8-inch round cake pans
- Piping bags and tips
- Offset spatula
- Rolling pin (for fondant)
- Cake smoother
- Fondant cutters (optional for shapes)
- Cake board and turntable (optional but helpful)
Step 1: Baking the Cake Layers
Let’s start with the foundation—the cake layers!
- Preheat the oven to 350°F (175°C). Grease two 8-inch round cake pans with butter or nonstick spray and lightly dust with flour.
- Mix dry ingredients: In a bowl, combine the flour, baking powder, and salt. Set aside.
- Cream butter and sugar: In a large mixing bowl, beat the butter and sugar until light and fluffy using an electric mixer (about 3-4 minutes).
- Add eggs one at a time: Gradually add the eggs to the butter mixture, beating well after each addition.
- Add dry ingredients and milk: Alternate adding the flour mixture and milk to the wet ingredients, starting and ending with the flour mixture. Stir in the vanilla extract.
- Divide and color the batter: Separate the batter into two equal portions. Add green food coloring to one portion for the watermelon rind effect and red food coloring to the other for the inside.
- Pour into cake pans and bake: Pour the green-colored batter into one cake pan and the red-colored batter into the other. Bake for 25-30 minutes or until a toothpick comes out clean. Let the cakes cool completely before frosting.
Step 2: Making the Buttercream Frosting
While the cakes are cooling, it’s time to prepare the buttercream frosting, which will give the cake that smooth, velvety finish.
- Beat the butter: In a large bowl, beat the softened butter until creamy.
- Add powdered sugar gradually: Slowly add the powdered sugar, one cup at a time, mixing on low speed to avoid sugar clouds.
- Add cream and vanilla: Add the heavy cream and vanilla extract and beat on medium-high speed until the frosting is fluffy.
- Divide and color the frosting: Separate the frosting into portions and add green, red, yellow, and black food coloring to each part. The green will be for the base, red for accents, yellow for JJ’s bus, and black for details.
Step 3: Assembling and Frosting the Cake
Now that your cakes are cool, it’s time to assemble and frost the Cocomelon cake.
- Level the cake layers: Use a serrated knife or cake leveler to remove the domed tops of each cake layer, making them flat.
- Apply a crumb coat: Spread a thin layer of green buttercream frosting on the first cake layer and place the second layer on top. Coat the entire cake with a thin layer of frosting to lock in crumbs. Refrigerate the cake for 20 minutes to let the crumb coat set.
- Final coat: Apply a smooth, even layer of green buttercream to cover the entire cake. This will serve as the watermelon rind.
Step 4: Decorating Your Cocomelon Cake
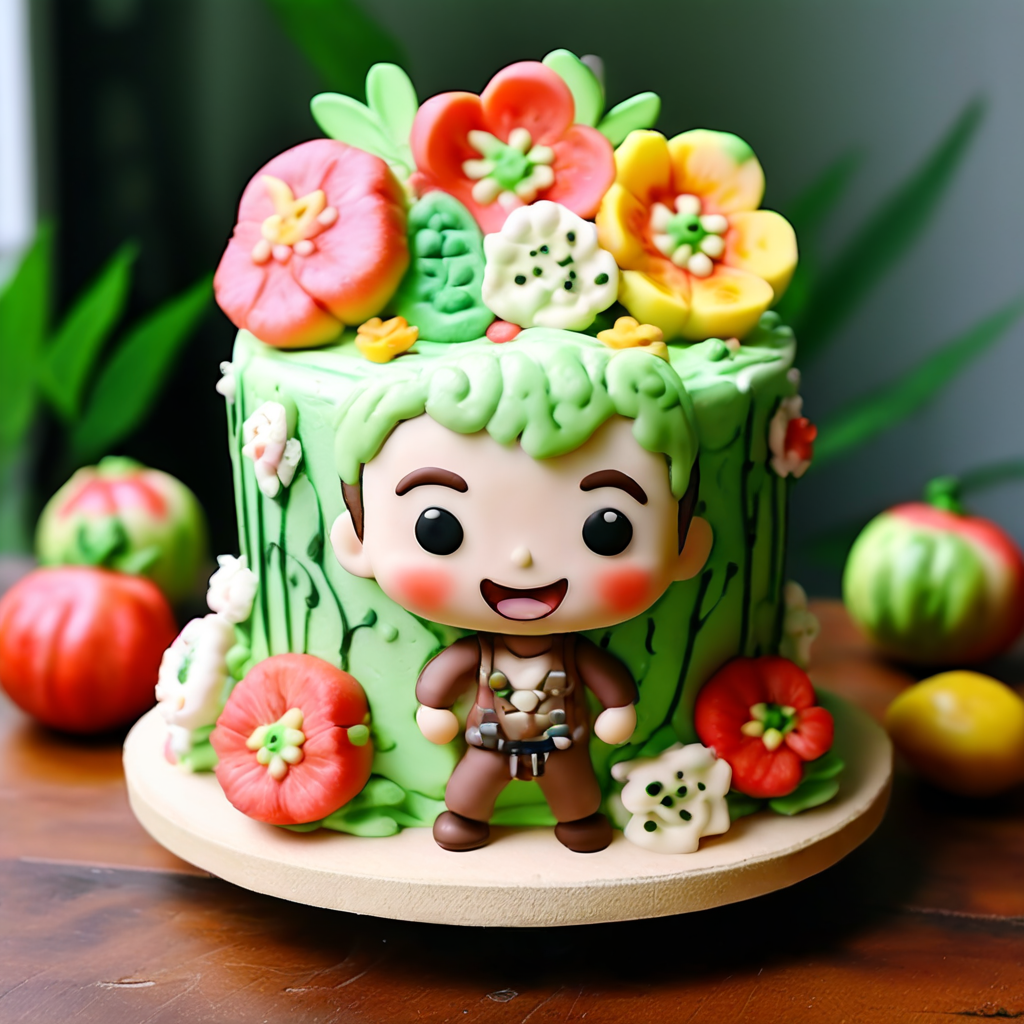
Now comes the fun part—decorating!
Making Fondant Decorations
Fondant is a great way to create cute and colorful decorations for your Cocomelon cake.
- Roll out the fondant: Lightly dust your work surface with powdered sugar and roll out the fondant to about ⅛ inch thick. Use gel food coloring to dye small portions of fondant in blue, yellow, red, and black.
- Create JJ’s Bus and Cocomelon Logo:
- Use a sharp knife or fondant cutters to cut out the shapes for JJ’s yellow school bus. Add tiny details like the windows and wheels using black fondant.
- Roll out red fondant into a circular Cocomelon logo and use green fondant for the watermelon rind design.
- Attach decorations: Place the fondant decorations onto the cake using a small brush dipped in water to make them stick.
Adding the Finishing Touches
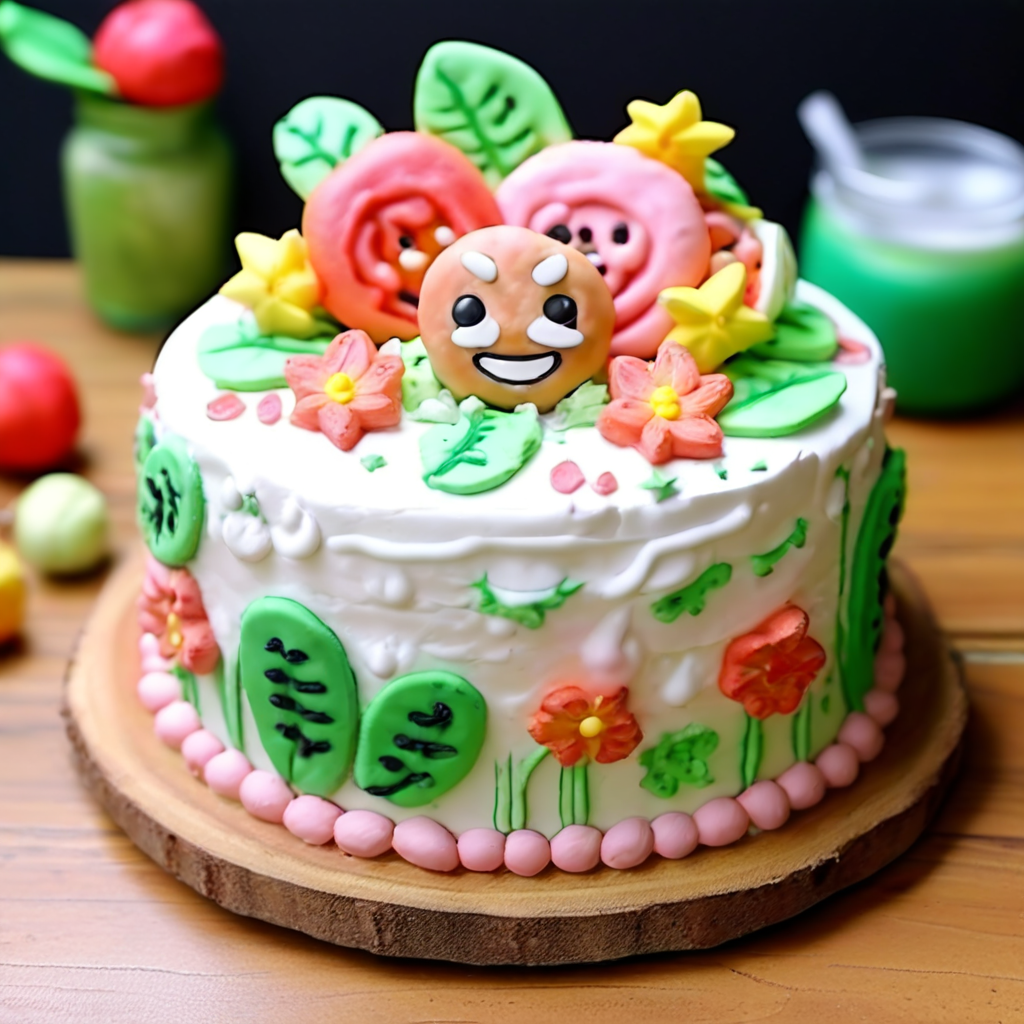
- Use a piping bag: Use red and black buttercream to pipe the Cocomelon face and antenna on top of the cake.
- Add simple details: If you want to go the extra mile, pipe small clouds or musical notes around the cake, paying homage to the show’s playful theme.
Step 5: Final Presentation
Place your finished Cocomelon cake on a cake board or serving plate. Use a cake turntable if you have one to help display all sides of your colorful creation. Add any last-minute sprinkles or accents, and voila! Your Cocomelon cake is ready to be served at your party.
Conclusion
Making a Cocomelon cake at home is not only a rewarding project, but it also adds a personal touch to your child’s celebration. With a bit of planning, the right tools, and patience, you can create a cake that will wow everyone at the party. Whether you’re a seasoned baker or a beginner, this easy-to-follow tutorial helps you bring JJ and his fun friends to life on a delightful cake.
Your little one’s face will light up when they see their favorite Cocomelon characters in cake form, and you’ll feel proud knowing you made it yourself. Don’t be afraid to get creative with the decorations—this cake is all about fun and color! Enjoy baking and happy celebrating!
Frequently Asked Questions:
- Can I make the cake ahead of time?
Yes, you can bake the cake layers a day in advance and store them in the fridge wrapped in plastic wrap to keep them fresh. - Do I need to use fondant?
Fondant gives a polished look, but if you’re not comfortable working with it, you can substitute it with buttercream decorations instead. - What if I don’t have gel food coloring?
Gel food coloring is best because it doesn’t alter the consistency of the frosting or batter. If you don’t have it, you can use liquid food coloring, but you may need to adjust the amount of liquid in your recipe.

