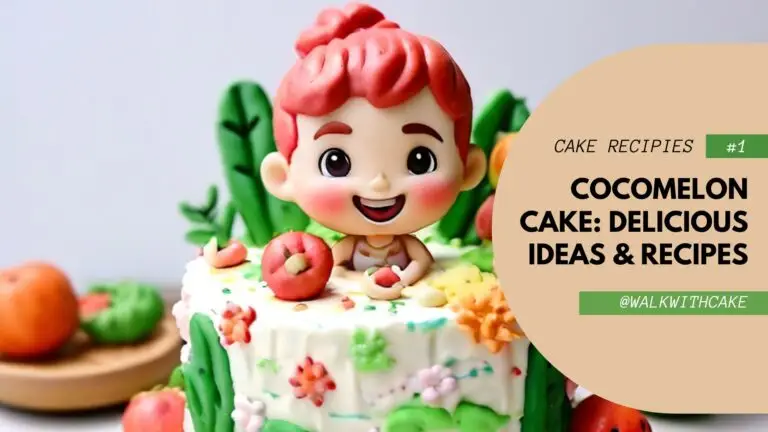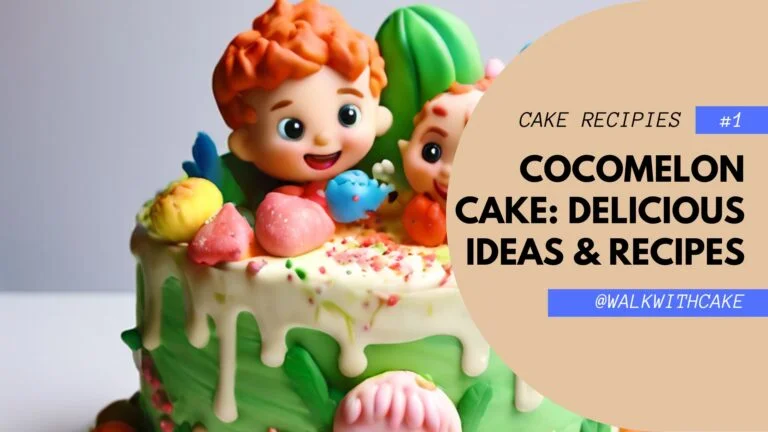
The Ultimate Cocomelon Cake Recipe: Step-by-Step Guide
When planning a kid’s birthday party, a theme that’s guaranteed to make little faces light up is Cocomelon! The bright colors, fun characters, and playful songs from the beloved children’s show create the perfect backdrop for a memorable event. But what’s a party without the perfect cake to match?
This blog post will guide you through the process of creating the ultimate Cocomelon-themed cake that’s as delightful to look at as it is delicious to eat. Whether you’re a seasoned baker or someone attempting a fun project for the first time, this detailed guide will walk you through every step. Let’s get started!
Why Cocomelon Cakes Are So Popular
Cocomelon has captured the hearts of millions of children worldwide. With its fun animation, catchy nursery rhymes, and positive messages, it’s no wonder why so many kids are requesting Cocomelon-themed birthday parties. And what’s the crown jewel of any Cocomelon party? A cake that looks like it’s straight from the world of JJ, YoYo, and TomTom!
This cake not only acts as a showstopper on your child’s birthday but also adds that special personal touch that’s sure to leave a lasting impression. Plus, making the cake yourself is a rewarding experience. By the end of this guide, you’ll have everything you need to create a stunning Cocomelon cake from scratch.
Tools and Ingredients You’ll Need
Before we dive into the recipe, it’s important to have all your tools and ingredients ready. Here’s a list of essentials to get you started:
Tools:
- 8-inch round cake pans (2-3, depending on your cake layers)
- Cake leveling tool (optional but recommended)
- Offset spatula for smooth frosting
- Piping bags with various nozzles
- Fondant smoother
- Rolling pin
- Fondant cutters
- Food-safe paintbrush for detailing
- Cake turntable (for easy frosting application)
Ingredients:
- 2 ½ cups of all-purpose flour
- 2 ½ tsp baking powder
- ½ tsp salt
- 1 cup unsalted butter, room temperature
- 1 ½ cups granulated sugar
- 4 large eggs
- 2 tsp vanilla extract
- 1 cup whole milk
- 2-3 cups buttercream frosting (for filling and crumb coating)
- Fondant in various colors (green, red, blue, yellow, white, black)
- Gel food coloring (optional, for additional fondant colors)
- Edible glue or water (to stick fondant decorations)
Baking the Perfect Cake Base
Step 1: Prepare Your Cake Pans
Grease and line the cake pans with parchment paper to ensure easy removal after baking. Preheat the oven to 350°F (175°C).
Step 2: Mix the Dry Ingredients
In a medium bowl, sift together the flour, baking powder, and salt. Set aside.
Step 3: Cream the Butter and Sugar
In a large bowl, beat the butter and sugar together using an electric mixer on medium speed until light and fluffy (about 3-5 minutes). This step is crucial for a soft and tender cake texture.
Step 4: Add the Eggs
Add the eggs one at a time, beating well after each addition. Stir in the vanilla extract.
Step 5: Combine Wet and Dry Ingredients
Alternately add the dry ingredients and milk to the butter mixture, starting and ending with the dry ingredients. Mix until just combined—be careful not to overmix, as this can lead to a dense cake.
Step 6: Bake
Divide the batter evenly between your prepared cake pans and bake for 25-30 minutes, or until a toothpick inserted into the center comes out clean. Let the cakes cool in the pans for 10 minutes, then transfer to a wire rack to cool completely.
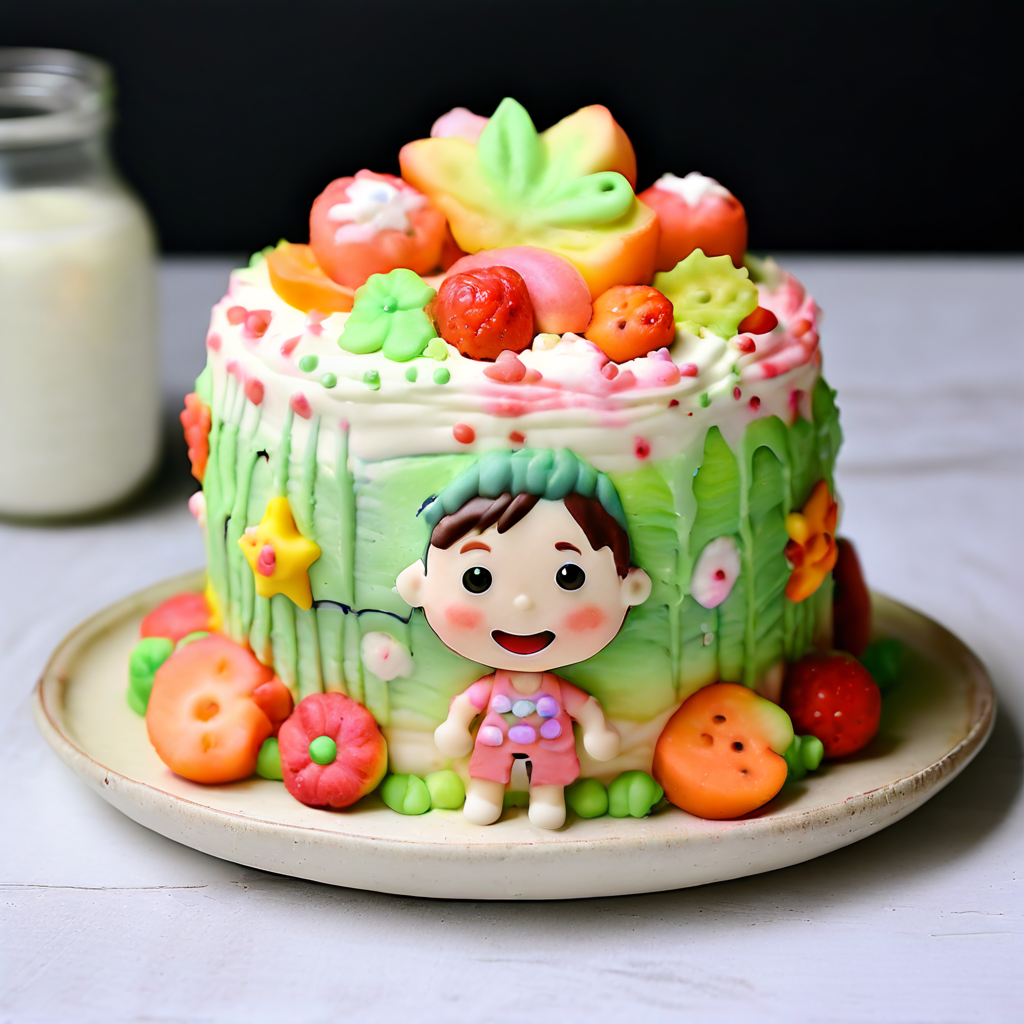
Creating the Cocomelon Design
Now that you have your cake base ready, it’s time to bring the magic of Cocomelon to life!
Step 1: Crumb Coat and Base Layer
Once your cake is completely cooled, apply a thin layer of buttercream frosting as a crumb coat. This seals in any stray crumbs and provides a smooth surface for the fondant. Chill the cake in the fridge for 20 minutes.
Step 2: Cover the Cake in Fondant
Roll out green fondant into a large circle that will cover the entire cake. Carefully lift the fondant over the cake and smooth it down using your hands or a fondant smoother. Trim any excess fondant from the bottom.
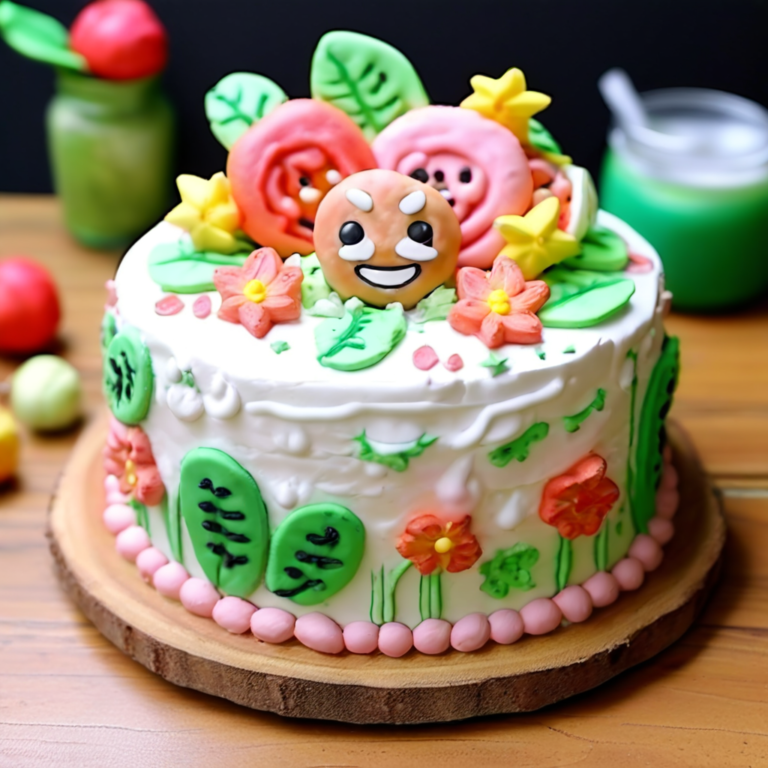
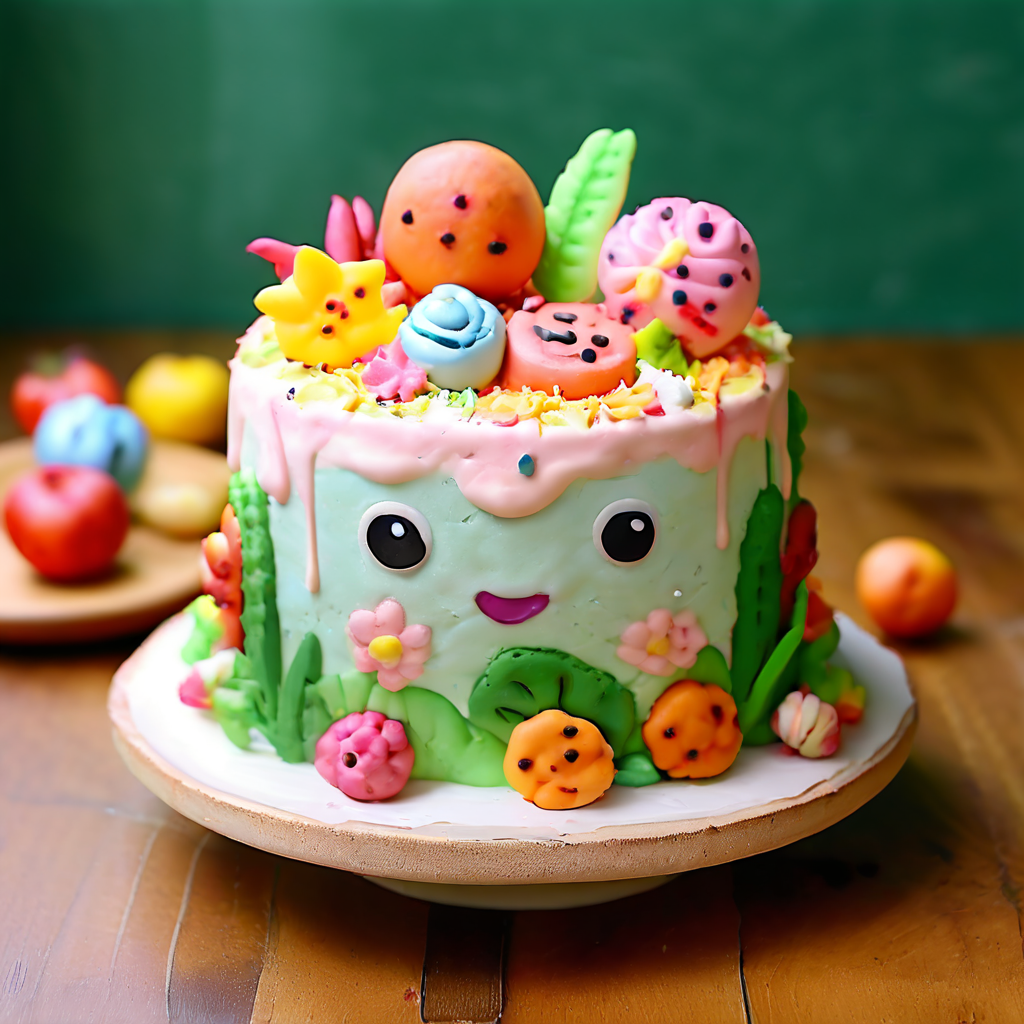
Step 3: Create JJ’s Face
The most recognizable part of Cocomelon is JJ’s face on the watermelon background. For this, roll out white fondant and use a circle cutter to shape JJ’s face. Add details such as his eyes, nose, and mouth using black and red fondant. Use edible glue or water to stick these pieces together.
Step 4: Add the Watermelon Detailing
To complete the watermelon look, cut strips of red fondant and place them around the top of the cake to mimic the Cocomelon logo. You can also add small, black fondant circles for watermelon seeds.
Tips for Decorating Success
- Use Cornstarch or Powdered Sugar: If your fondant is sticking while rolling it out, lightly dust your surface with cornstarch or powdered sugar to prevent sticking.
- Chill Between Layers: Refrigerating your cake between frosting and fondant layers helps solidify the structure, making it easier to work with.
- Keep It Simple: If you’re new to fondant work, don’t worry about overly intricate designs. A few key elements (like JJ’s face) will still deliver a recognizable Cocomelon cake.
Common Mistakes to Avoid
- Not Cooling the Cake Fully: Applying fondant or frosting to a warm cake will cause it to melt or slide. Always make sure your cake is completely cooled before decorating.
- Over-kneading the Fondant: The Fondant can become tough to work with if you knead it too much. Work gently to maintain its smooth texture.
- Skipping the Crumb Coat: A crumb coat ensures your final layer of fondant looks smooth and flawless. Don’t skip this crucial step!
FAQs About Making a Cocomelon Cake
Can I use store-bought cake mix?
Yes! While this recipe uses a homemade cake base, you can certainly use a store-bought mix if you’re pressed for time. The decorating process remains the same.
How far in advance can I make the cake?
You can bake the cake layers up to two days in advance. Wrap them tightly in plastic wrap and store them at room temperature. The fondant-covered cake can also be made a day ahead.
What if I don’t have fondant?
If you prefer not to use fondant, you can decorate the cake with colored buttercream instead. Just be mindful that buttercream won’t give the same smooth finish as fondant, but it can still be colorful and fun!
Conclusion
Making a Cocomelon cake may seem like a daunting task at first, but with the right tools, preparation, and guidance, it’s entirely achievable! This ultimate guide provides you with the step-by-step process to bring the joy of Cocomelon to your next celebration. Whether you’re making it for a birthday or another special occasion, this cake is sure to be a hit with kids and parents alike.
So, put on your apron, get your rolling pin ready, and start creating a Cocomelon cake that will wow everyone at the party. Happy baking!